Here are some simple steps from Less Mess to help you when laying large stone pavers in your yard or repairing an existing path that was done incorrectly. This will ensure it is done properly, looks stunning and will last for many years.
Step #1 – Clear the area – remove any debris, excessive weeds or if you have existing material or stones. Carefully place them off to the side
Step #2 – Excavation – Dig down approximately three inches. You want to ensure you remove enough waste material to have room for the thickness of the stone you are laying and at least one inch of limestone screening.
Step#3 – Put down weed barrier fabric. This is the step that most people skip, however to keep the aesthetic look of your work and ensure no weeds grown in between the pavers over the years, this is a must. It is inexpensive and worth it
Step #4 – Place a layer of Less Mess HBP Lime stone screening – High Performance Bedding, is a base material that can replace the need for gravel or sand bedding. It consists of a 3/8” washed limestone chip. It is a material that does not require compaction.
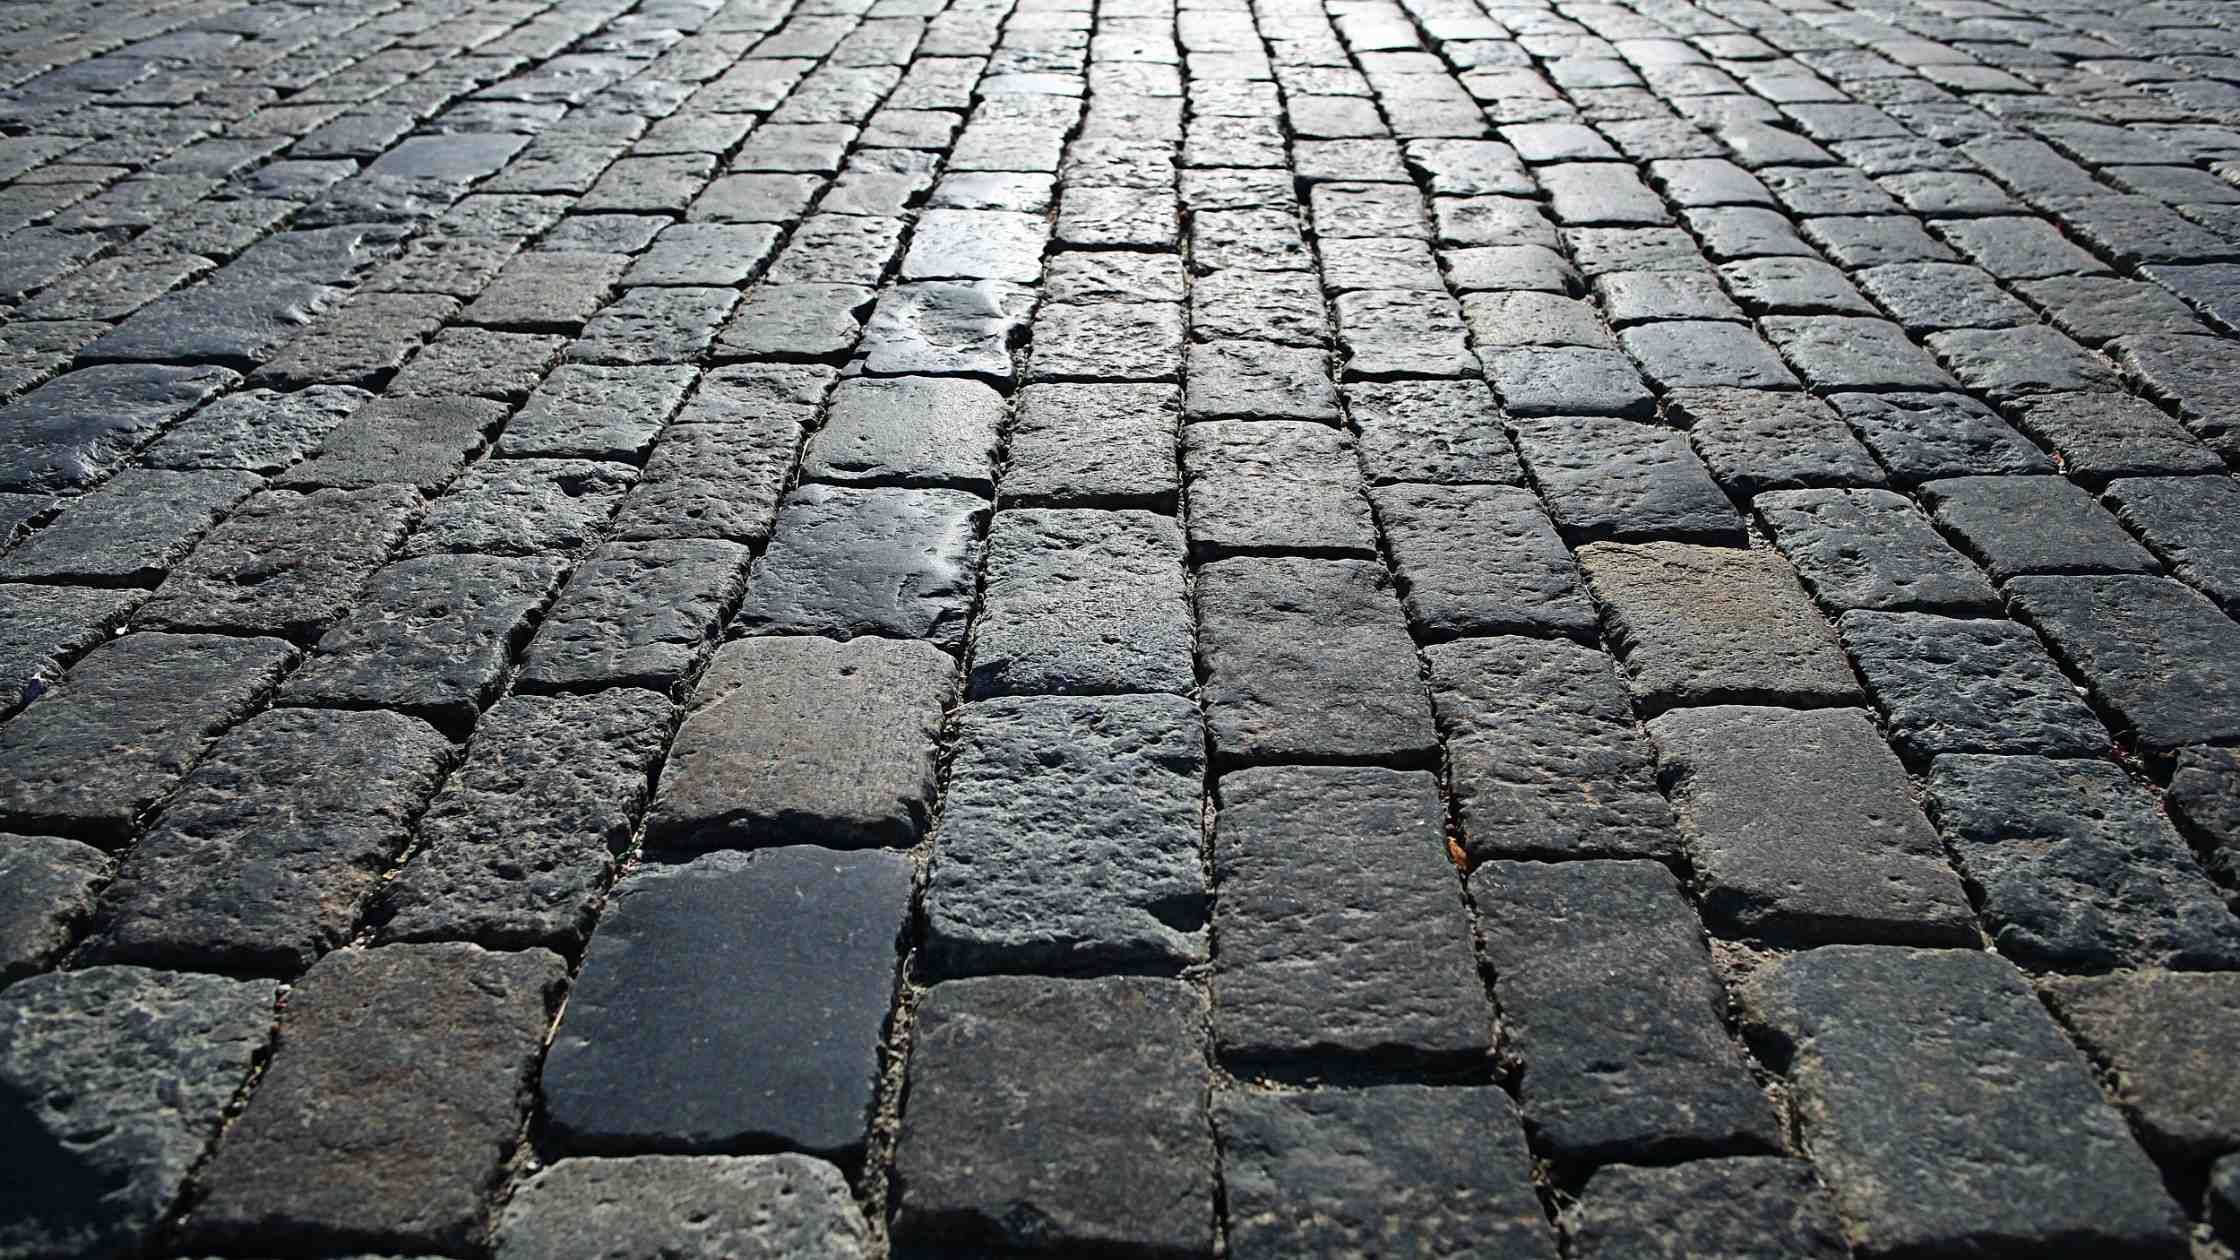
Step #5 – Place the stone pavers. Here you have 2 options: you can place them right next to each other and fill gaps with sand or leave a one inch gap (as seen in the picture) and place more screening in between. We think this looks great and avoids the need to purchase sand bedding material.
Step #6 – Sweep & enjoy!
At Less Mess, we have all the quality products for any back yard project and the convenience of delivery right to your door. Visit us today at www.lessmess.ca